
Gastrocnemius Exercises at Home: 3 Straight-Knee Calf Moves
By Zephyr · Published Jul 16, 2026
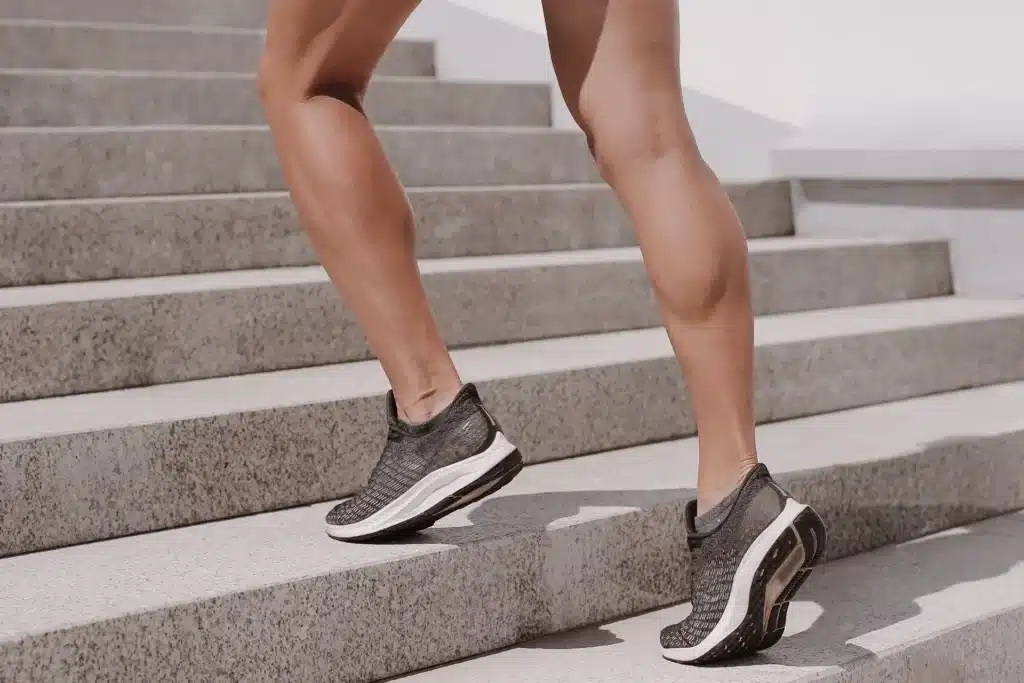
These gastrocnemius exercises use three home-friendly movements to train the upper calf without a standing calf-raise machine. You need only a stable step, a wall, a dumbbell and a resistance band.
The problem is rarely a shortage of calf exercises. Calf training often turns into a repetition game: you bounce out of the bottom, shorten the range or gradually bend your knees to keep the set going. The set continues, but the gastrocnemius receives less consistent loading through the intended knee position and ankle range.
This routine addresses that problem with one supported loaded movement, one unilateral movement and one seated finisher. Each exercise has a separate role, so you can make the training harder without collecting interchangeable calf-raise variations.
This is a focused calf block rather than a complete leg day. If you need the larger structure around it, place the routine inside a complete lower-leg routine that also trains the front and outside of the lower leg.
This article is for general strength training. It is not treatment for a calf strain, Achilles tendon pain or another lower-leg condition. Stop if you experience sharp pain, swelling, sudden weakness or a recent loss of function.
Quick Summary
- The gastrocnemius crosses the knee and ankle, so this routine keeps the working knee straight or close to straight.
- Knee position changes the training emphasis, but the calf muscles still work together.
- Useful reps require secure forefoot pressure, a deliberate lowering phase and a clear heel raise without bouncing.
- The three movements provide external load, unilateral work and low-balance finishing volume.
- Increase the challenge only while your knee position and ankle range remain consistent.
What Exercise Works the Gastrocnemius?
Straight-knee calf raises are the main exercise pattern for training the gastrocnemius. The muscle raises the heel through plantar flexion, but it also crosses the back of the knee, so knee position changes the conditions under which it works.
Think of the gastrocnemius as a band crossing both the knee and ankle. Bending the knee gives that band more slack at one end. Keeping the knee straight places it in a longer position during the calf raise, although it does not completely isolate the muscle.
In a 12-week within-person study of 14 untrained adults, knee-extended standing calf raises produced substantially greater gastrocnemius growth than knee-flexed seated calf raises, while soleus growth was similar between conditions. This supports straight-knee plantar flexion when the gastrocnemius is the priority, although it does not make standing calf raises the only useful form of calf training. You can review the controlled comparison of calf-raise position and triceps surae muscle growth.
Keep the knee straight or close to straight, but do not force it backward into a hard lockout. Let the ankle perform the movement, and end the set before repeated knee bending, bouncing or shrinking range changes the exercise.
3 Straight-Knee Calf Exercises for Better Control
The best gastrocnemius exercises are not simply the variations that let you complete the most repetitions. They should allow you to keep the knee straight without forcing it backward, maintain pressure through the forefoot and lower the heel without losing control.
The three movements below follow those standards, but each has a different job. The first supplies the main external load, the second increases the demand on one leg, and the third removes most of the standing balance requirement.
1. Dumbbell Standing Calf Raise on a Step
Video: OPEX Fitness
Main Muscles Worked:
Gastrocnemius, with an emphasis on loaded plantar flexion while the knees remain straight.
Role in the Workout:
I would place this exercise first because the step gives you more usable ankle range, while the dumbbell makes the load easy to record and increase. Holding the wall removes enough balance demand for you to concentrate on the calves.
How to Do It:
- Place the balls of both feet on the edge of a stable step. Hold the wall with one hand and a dumbbell with the other.
- Keep your knees straight without forcefully locking them, then lower your heels as far as you can control.
- Press through the balls of your feet and raise your heels as high as you can without rolling the ankles, losing forefoot pressure or bending the knees.
- Pause briefly at the top, then lower slowly into the next rep.
How It Should Feel:
You should feel the upper back of your calves tighten as you rise and lengthen as your heels descend. Your toes should not grip hard, and your body should not bounce.
Practical Tip:
Keep enough of the forefoot on the step to feel secure instead of balancing on the ends of your toes. The brief top pause is a checkpoint, not a special growth technique. Use it to confirm that you reached the top without rolling your ankles or using momentum.
Troubleshooting:
- If you lose your balance, reduce the dumbbell load and use slightly more support from the wall.
- If your feet fatigue before your calves, relax your toes and keep the base of the big toe, little toe and forefoot supported.
- If tension concentrates near the Achilles instead of the calf, reduce the load and heel-drop depth. Stop if the sensation becomes sharp, persistent or painful.
2. Wall-Supported Single-Leg Calf Raise
Video: Hospital for Special Surgery
Main Muscles Worked:
Gastrocnemius, with an emphasis on single-leg calf strength and side-to-side control.
Role in the Workout:
I would place this exercise second. After the loaded movement, it makes one leg support your bodyweight and reveals differences in strength, range and ankle control between sides.
How to Do It:
- Stand facing a wall, place both hands lightly against it and lift one foot off the floor.
- Keep the supporting knee straight without forcefully locking it, and press the forefoot evenly into the floor.
- Raise the heel as high as you can without the ankle rolling or the knee bending.
- Lower slowly. Complete the set before changing sides.
How It Should Feel:
You should feel the back of the working calf stay active while the heel moves vertically. You should not need to lean or fall toward the wall to finish the rep.
Practical Tip:
Use the wall for balance, not to push yourself upward. Start with the weaker side, then match its clean repetitions and usable range on the stronger side. Do not give the stronger calf extra reps simply because it can keep going.
Troubleshooting:
- If your ankle rolls inward or outward, reduce the range and keep the heel on a straighter path.
- If you cannot reach the top cleanly, stop the set earlier and prioritize complete repetitions.
- If one side is noticeably weaker, use the range it can control instead of bouncing to match the stronger side.
If you are currently training without dumbbells or bands, this movement can also fit into a beginner-friendly lower-body routine built around movements that need no gym machines.
3. Seated Straight-Leg Calf Press With Band
Video: Sam Visnic
Main Muscles Worked:
Gastrocnemius, with an emphasis on plantar flexion in a supported straight-knee position.
Role in the Workout:
I would place this exercise last. Sitting removes most of the balance demand, making the movement useful for adding training volume after the two standing exercises.
How to Do It:
- Sit on the floor or another firm surface with one leg extended in front of you.
- Loop the resistance band around the ball of the foot and hold the ends with enough tension to keep it secure.
- Keep the knee straight and press the forefoot forward until the ankle reaches plantar flexion.
- Let the foot return slowly without suddenly releasing the band.
How It Should Feel:
You should feel the back of the calf tighten as you press the foot forward. The whole leg should not lift, and the knee should not repeatedly bend.
Practical Tip:
Place the band around the ball of the foot rather than only around the toes. Keep the ankle aligned with the lower leg; there is no need to turn the foot inward or outward.
Troubleshooting:
- If the band slips, move it closer to the middle of the forefoot and reduce the starting tension.
- If you mainly feel your foot or toes, relax them and press through the whole forefoot.
- If you cannot control the return, use a lighter band.
15–20-Minute Gastrocnemius Workout at Home
Many gastrocnemius workouts at home add more calf-raise variations without giving each one a separate purpose. This routine keeps three movements and assigns a clear task to each.
| Exercise | Sets | Reps | Rest |
|---|---|---|---|
| Dumbbell Standing Calf Raise on a Step | 3 | 8–12 | 60–75 sec |
| Wall-Supported Single-Leg Calf Raise | 2–3 | 8–15 each side | 45–60 sec |
| Seated Straight-Leg Calf Press With Band | 2–3 | 15–20 each side | 30–45 sec |
How to Use This Routine
Perform the exercises in the listed order. Use the dumbbell movement for your main external load, the wall-supported movement for unilateral work and the band press for finishing volume. For the two unilateral exercises, complete both sides before taking the listed rest period.
Two weekly sessions are a practical starting point for many people. Leave enough recovery time between them for your performance to remain consistent. If your current training already includes running, jumping or direct calf work, start with fewer sets.
Place this block near the end of a leg workout so calf fatigue does not interfere with larger lower-body exercises. If the same session also needs direct hamstring work, complete additional posterior-thigh work that can fit into the same lower-body training day before moving to the calf block.
On another session, you can combine the calf work with hip-extension training for the upper part of a more complete posterior-chain session.
This is not a complete lower-leg routine because it does not provide dedicated work for the soleus, tibialis anterior or fibularis muscles.
Do not compare the resistance used in the band press with the dumbbell load. The movements have different setups and resistance patterns. Progress each exercise according to its own rep range and movement quality.
A calf burn can tell you that the area is working, but it does not prove that the set used a useful range or appropriate resistance. Next-day soreness is also inconsistent. Judge the routine by the repetitions you can repeat cleanly and whether your load, range or control improves over time.
Safety Tips:
Use a stable, non-slip step and a wall or support that will not move. Keep the dumbbell secure, and inspect the resistance band for cracks or damage before each session. Do not force an extreme heel drop or continue through sharp pain. Stop and seek qualified guidance if you have swelling, sudden weakness, a recent calf injury or persistent Achilles discomfort.
Common Mistakes
1. Bouncing Out of the Bottom
Bouncing makes it easier to continue the set, but it removes control from the lower part of the movement.
An eight-week machine-based study in young women found greater gastrocnemius growth when calf raises emphasized the lengthened, lower portion of the movement than when training was limited to the shortened, upper portion. That does not mean forcing the heel into the deepest possible position. It supports loading a lower range you can control instead of bouncing past it. You can read the training study comparing different portions of the calf-raise range.
Lower the heel deliberately and reverse the movement without a sudden rebound. If you cannot do that, reduce the load or shorten the range until the rep is under control again.
2. Shortening Every Rep as Fatigue Builds
A set may begin with deliberate repetitions and end with quick pulses near the top. Unless you intentionally programmed partial repetitions, do not count those shortened reps as equivalent to the earlier ones.
Record the last repetition that still meets your intended range and tempo. Progress from that number instead of rewarding yourself for moving farther away from the original standard.
3. Letting the Knees Bend
Bending the knees as fatigue builds makes the movement easier and changes the position of the gastrocnemius.
Keep the knees straight without forcing them backward. If they repeatedly bend, use less resistance or finish the set before the movement changes.
4. Turning the Exercise Into a Balance Test
Loading the calf becomes difficult when every repetition is limited by wobbling, body shifting or the ankle rolling sideways.
Use a wall, rail or sturdy support. Support removes an unnecessary limitation and lets you apply resistance without making balance the main challenge.
5. Gripping With the Toes
Curling the toes into the floor can make the feet fatigue before the calves. Keep the forefoot secure, but avoid using the toes as claws.
On a step, support enough of the forefoot to feel secure. During the band press, place the band around the ball of the foot instead of the ends of the toes.
6. Forcing the Feet Inward or Outward
A nine-week study in 22 young men found different regional gastrocnemius growth responses when unilateral calf raises were performed with the feet turned inward, outward or forward. However, the study used a pin-loaded horizontal leg-press machine and does not establish an extreme foot angle as necessary for every trainee or home setup. See the randomized trial examining foot position and regional gastrocnemius growth.
For this routine, choose a comfortable position that keeps the knee, ankle and forefoot aligned. Foot angle should not replace usable range, adequate resistance and long-term progression.
Regressions and Progression Tips
1. Dumbbell Standing Calf Raise on a Step
Start on the floor without a dumbbell if the step is difficult to control. Use both hands for support, then introduce the step before adding external load.
Once you can reach the top of the rep range with the same heel path, knee position and usable depth, increase the dumbbell slightly. Do not add weight if doing so makes you bounce or shorten every repetition.
2. Wall-Supported Single-Leg Calf Raise
If the full single-leg version is too difficult, rise with both legs and lower with one, or let the non-working foot remain lightly on the floor.
Progress by reducing that assistance, adding a longer top pause or moving to a step. Add a light dumbbell only after the bodyweight version becomes consistent.
3. Seated Straight-Leg Calf Press With Band
Begin with a lighter band or less starting tension. Use a range that lets you press forward and return without losing ankle position.
Progress by increasing band tension, slowing the return or adding a brief pause in plantar flexion. Move to a stronger band once you can complete the top of the rep range without bending the knee or losing the band position.
Across all three exercises, progress only when:
- The knee position remains consistent.
- You can reverse the movement without bouncing.
- The ankle range stays similar from rep to rep.
- The forefoot remains secure.
- The heel does not drift excessively.
- The added difficulty does not reduce movement quality.
Frequently Asked Questions
Can you isolate the gastrocnemius?
No. Straight-knee plantar flexion can emphasize the gastrocnemius, but it does not switch the soleus or other plantar flexors off.
In a study of 48 healthy adults, changing heel raises from a straight knee to 45 degrees of knee flexion produced relatively modest changes in gastrocnemius and soleus activity. That supports treating knee position as an emphasis tool rather than an isolation switch. See the heel-raise comparison across different knee positions.
Are seated calf raises good for the gastrocnemius?
Traditional seated calf raises use bent knees, which changes the position of the gastrocnemius and produced much less gastrocnemius growth than standing calf raises in the 12-week comparison discussed above.
The band exercise in this routine is performed while seated, but the working knee remains straight. The important distinction is the knee position, not simply whether you are sitting or standing.
Why do I feel calf raises in my feet instead of my calves?
Your toes may be gripping, the forefoot may be poorly supported, or the resistance may be too heavy. Relax your toes, secure the ball of the foot and reduce the load until the heel can rise and lower without the foot collapsing.
Why Are Calves So Difficult to Grow?
Genetics influence calf shape, muscle-belly length and how the lower leg looks, but they do not make training variables irrelevant. Progress often stalls because every set uses the same bodyweight resistance or turns into short, bouncing repetitions.
Use a consistent range, make the target rep range challenging and gradually increase resistance while keeping the knee and ankle under control.
How Often Should I Train the Gastrocnemius?
Two sessions per week is a practical starting point for many people. Adjust that frequency around your existing leg training, running and jumping volume, and leave enough recovery for your performance to remain consistent.
Conclusion
Effective calf training does not depend on collecting more variations or forcing more repetitions. Keep the knee straight, use an ankle range you can repeat, add enough support to stop balance from limiting the set and increase resistance only while those standards remain intact.
The dumbbell step raise provides the main external load. The wall-supported single-leg raise adds unilateral work, and the straight-leg band press finishes the session without allowing standing balance to end the set first.
Use these gastrocnemius exercises at home as a focused part of a broader lower-body routine. Track the repetitions you complete cleanly, progress one variable at a time and let movement quality—not the largest possible rep count—define a successful set.
Medical disclaimer: This article is intended for educational and informational purposes only. It is not intended as a substitute for medical advice. For health advice, contact a licensed healthcare provider.